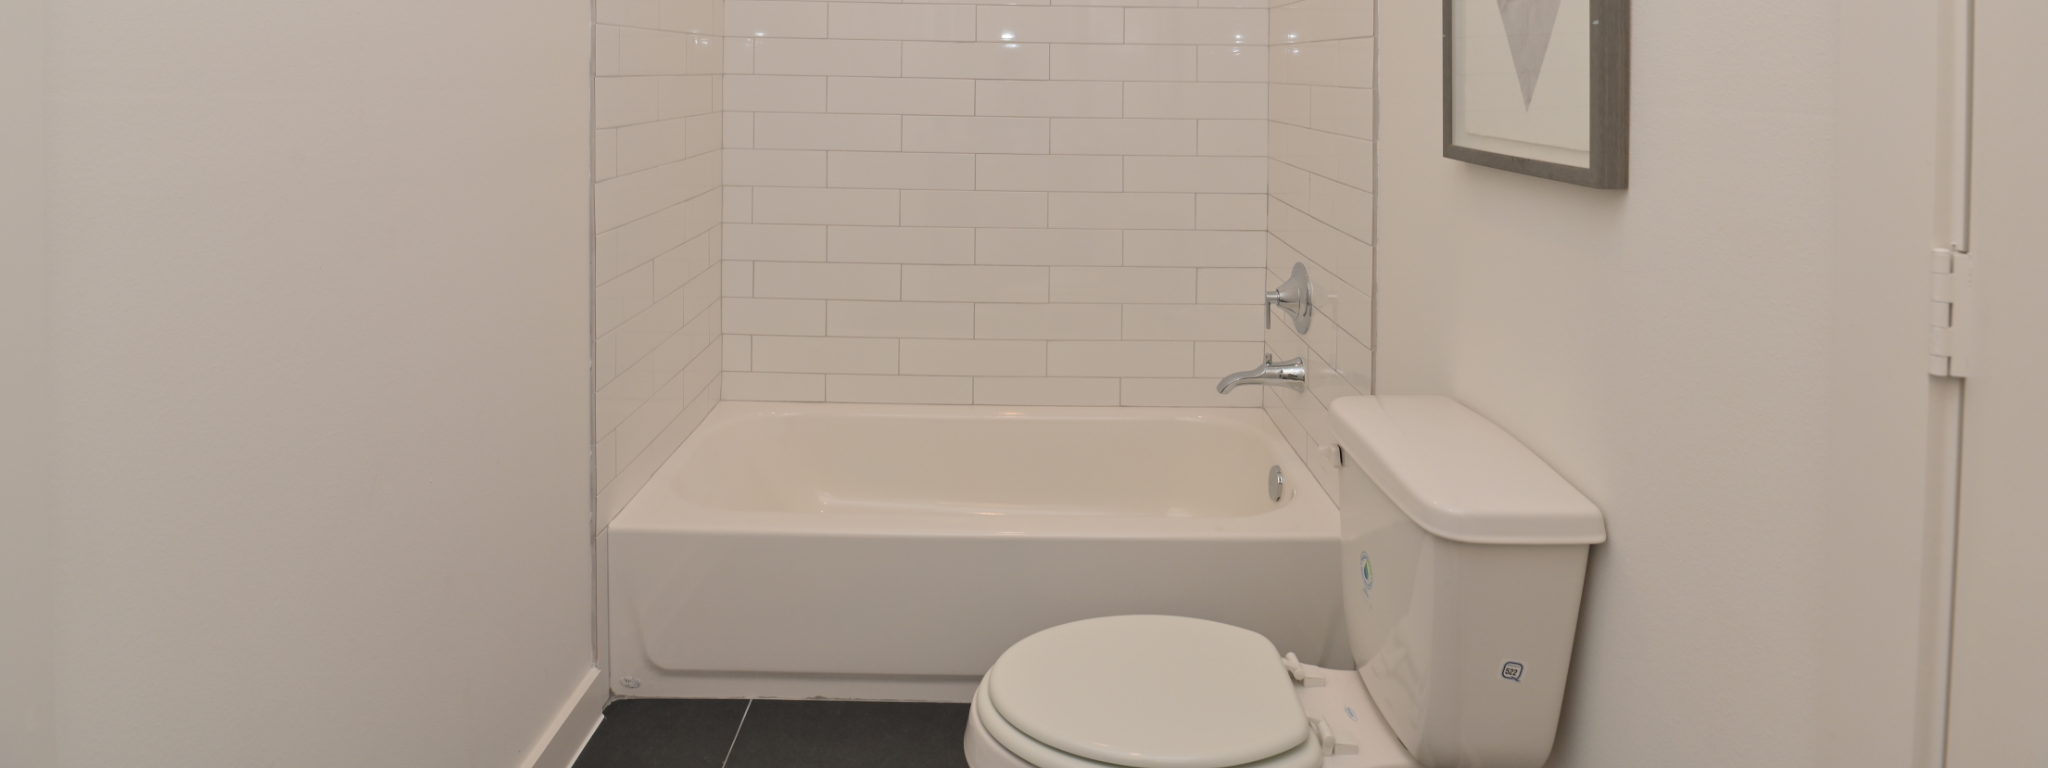
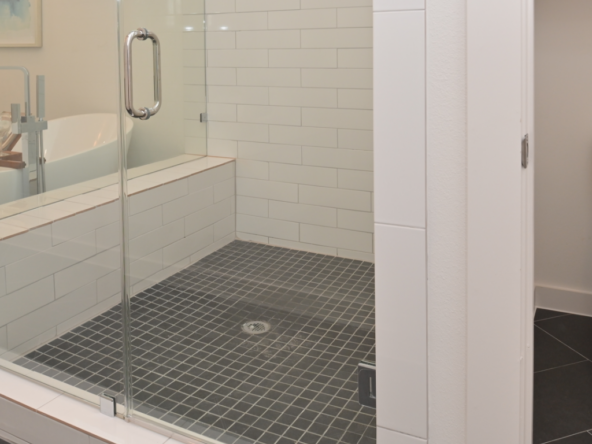
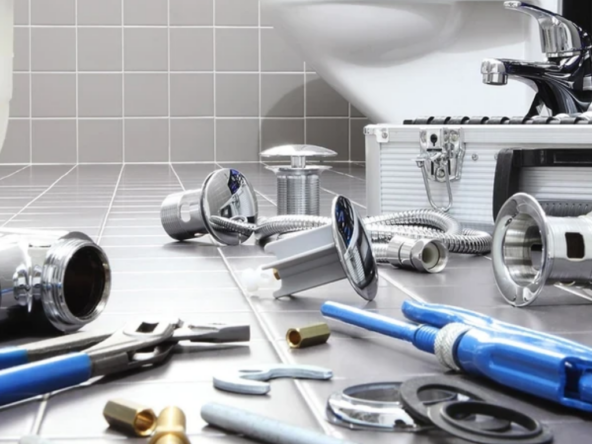
Maintaining tiles, grout, and fillers of your bathroom initially can prevent you from experiencing expensive repairs down the line. As the tiles are designed to decorate the overall look of the bathroom providing benefits as it reduces the soaking up of water and creates a smoother surface. Grout and fillers also add protection against the water. Maintaining them is essential for keeping their integrity as they keep molds and leaks at bay and extend the life of your bathroom. Cleaning tiles is an easy task that can be performed effortlessly and after a shorter time. The same goes for cleaning shower tiles and even grout. This informative piece of information is going to answer all the questions regarding the care and maintenance of bathroom tiles, shower tiles, grout, and Fillers.
Guidelines for Cleaning Bathroom Tiles
By following the guidelines below you can easily clean and maintain your Bathroom tiles effortlessly.
- For removing dust and debris sweep or vacuum the floor before cleaning bathroom tiles.
- The bathroom tiles require to be regularly cleaned to remove any abrasive particles that could damage them.
- Use a non-oil-based household cleaner suitable for cement grouts to clean bathroom tiles.
- Use a moist cloth to wipe the tiles and do that occasionally.
- Scrub the bottom of tile floors with a cleaning solution using a cloth, sponge, or any non-metallic brush. Make sure to rinse the tiles with clean water to remove the cleansers.
- Clean tiles with a specified cleanser to avoid mildew buildup.
- Protective pads should be used to prevent the scratching of the tiles.
- Avoid acidic cleaners as they will damage the glaze while cleaning bathroom tiles.
Guidelines to Clean Shower Tiles
If you use the right tools along with the proper cleaning solutions your shower tile cleansing will become easy and efficient making you feel relaxed by ensuring you the greater lifespan for them and to avoid them being very dirty. Follow these simple steps to clean the shower tiles:
- Use spray cleansers that remove soap scum, hard water deposits, and mildew for cleaning shower tiles is the best of the solution. But you must follow the recommendations of your manufacturer for maintaining the tiles.
- Left the tiles for a second or two after spraying cleanser.
- Use a wet sponge to wash off the cleanser.
- Avoid acidic cleaners as they will damage the glaze while cleaning shower tiles.
Guidelines to Clean Grout
It is difficult as compared to maintain the tiles and cleaning bathroom tiles. But if you follow the right steps it can be a less tiring one.
- Grout between the ceramic tiles can be cleaned using a brush and a mild cleanser.
- Grout sealer is best to make grout more resistant to stains and is easily available at most of the home care centers. Be careful as some sealers can discolor grouts.
- The inspection of grout cracks frequently is recommended.
- If the crack is detected Re-fill or re-grout them immediately.
- While replacing or removing the cracked grout, take the grout to the subfloor to ensure that the new one has a good depth otherwise it will crack off easily.
- Use Ammonia free cleansers when cleaning grout as it will discolor it.
Interior Filling
The interior filling is an elastic sealer around bathtubs, showers, countertop, and other areas that needs protection from the water entry. It prevents moisture problems, will separate over the years if not maintained.
Where Interior Filling is applied?
The following are the areas on which it is applied.
- Around showers, bathtubs, sinks, toilets.
- Around countertop backsplashes, ceramic walls, and floors.
- Around ceiling of the Upper room (aka Loft).
- Around wooden frames of windows and doors.
- Between sill plate and the foundation.
Note: Avoid using acrylic filler over silicone and vice versa. They do not bond with each other.
For cleaning Fillers
For replacing and cleaning fillers first observe the separated and deteriorated fillers:
- Remove the old filling with a putty knife, scraper, or painter’s tool.
- Check areas properly that needs fillers to be cleaned or retouched. If the area is not dry or cleaned properly the fillers won’t adhere.
- Apply the new filling holding the tube to a 45° angle from the surface and push it rather than pulling it to drive the fillers into the gap. If you pull it, there are high chances to get air bubbles inside the gap.
- Pull the tube back to break the filler bead by twisting it.
- To smooth and compress the filling run your finger along the joint.
Note:
- Follow the instructions on the tube to load and use the gun if you are using a filling gun.
- Do not apply fillers in cold water. It is ideal to be applied between a temperature around 50°F and 70°F.


